Google Home and smart power bars

Google Home and Smart Power Bars

This article explains how to set up a Google Home and smart power bars to save energy and money. The energy savings results from reducing standby, phantom as well as vampire power. We measured standby as well as phantom energy consumption with and without the use of smart power bars to prove the energy savings. After reading this article, you will understand how to measure and calculate costs associated with this unnecessary form of energy consumption. There is also a step by step procedure (pictures included) showing how to set up a smart power bar with Google Assistant.

Appliances and electronic devices that are switched off, continue to consume phantom and standby power when they are plugged into an electrical outlet. The way in which this power is consumed is what differentiates standby power from phantom power.

Phantom power

Phantom Power is the power used to display digital clocks, illuminate LED lights as well as to convert AC to DC. The name phantom power is suitable for this form of energy consumption as it is elusive. It is logical how someone may reason that since the device is off, zero energy is consumed.

Standby power

Standby power is the power consumed by either appliances or electronic devices that have the capability to respond to control signals. Televisions as well as stereo systems are classic examples of devices that consume standby power. When these devices are off, standby power is consumed while waiting for a remote control “on” signal. Today, there are significantly more appliances and electronic devices that consume standby power.

The definition of standby power has evolved and now includes what is known as network standby power. Network standby power now allows for control signals to be sent to devices from apps on your phone, making classic remote controls obsolete.

Vampire power

Vampire power is the wasted power consumed by power adapters and chargers while the electronic device is not connected. This form of energy consumption is also referred to as no-load power. The power consumed by the adapters and chargers is lost as heat and therefore provides no features or value. The name vampire power stems from most chargers having two prongs resembling teeth as well as the continuous “suck” of energy.

How much does standby, phantom and vampire power cost?

Estimating how much standby, phantom, and vampire power consumption contributes towards your overall electricity bill is difficult. Energy consumption will vary depending on the amount of devices you have plugged into electrical outlets as well as the age of these devices. In 2010, most countries developed regulations limiting the amount of standby power a device is allowed to consume. There are numerous estimations online from credible sources that give a percentage ranging between 5 and 15% of total electricity usage. This estimate is realistic if no action has been taken to minimize this form of energy consumption.

Note

The Lawrence Berkeley National Laboratory has tested standby power consumption for many devices. Refer to their Standby Power Summary Table which outlines the minimum, maximum as well as the average standby power consumption.

Measuring energy consumption of standby and phantom power

Measuring the energy consumption of standby and phantom power and determining how much it costs towards your electricity bill is rather simple. To illustrate standby and phantom power consumption, the rest of this article will use a home gym with multiple devices as an example. The devices within the gym include a ceiling mounted projector, surround sound AV receiver, Blu-ray/DVD player, as well as a Google Chromecast.

Step 1: Use a power quality analyzer to measure the total standby and phantom power consumed while all devices are plugged in and switched off

Note

Power quality analyzers are expensive pieces of electrical monitoring equipment capable of much more than measuring power consumption. If you desire to know how much standby/phantom power your devices are wasting, use an inexpensive power usage monitor rather than an expensive electrical testing instrument.

Amazon Paid Link

Standby and phantom power consumption without smart power bar

As shown above in the power and energy screen capture and linear watt-hour trend, the devices within the home gym consumed 157.6 watt-hours of energy over a 24 hour period.

Step 2: Convert watt-hours to kilowatt-hours

The price you pay for electricity is per kilowatt-hours (kWh) and since 1000 watts is equal to 1 kilowatt, simply divide your result from step 1 by 1000.
157.6 watt-hours / 1000 = 0.1576 kilowatt-hours

Step 3: Determine the kWh lost to standby and phantom power over a year

Standby and phantom power consume energy 24 hours a day, 365 days a year. To determine the kWh used over a year’s time, simply multiply the kWh consumed over a 24 hour period by 365.
0.1576 kWh/day x 365 day/year = 57.5 kWh

Step 4: Calculate the cost of standby and phantom energy

For this example, we will use the average cost of energy across the United States, which is approximately 12 cents/kWh. To more accurately calculate your costs, refer and use the cost per kWh from your electricity bill.

The cost of the standby and phantom power consumed by the gym’s projector, AV receiver, Blu-ray/DVD player as well as Google Chromecast is:
$0.12/kWh x 57.5 kWh = $6.90

Determine standby and phantom power consumption as a percentage of total energy consumption

Collect all electricity bills throughout the year and then add up the total amount of kWh used in this period. For this example, the energy used throughout the home over the course of one year was 5,277 kWh. To calculate the percentage, simply divide the standby and phantom energy used in the gym by the total energy used throughout the year.
57.5 kWh / 5,277 kWh = 1.09%

Note

The standby and phantom energy used by the electronic devices within the home gym amounted to 1.09% of the total kWh used throughout the year. Similar amounts of standby and phantom energy are used throughout your home, from the living room, office, kitchen, etc. It is now easy to see how 5 to 15% of the total energy consumption within your home goes to waste without providing any value.

Reduce power consumption with Google Home and smart power bars

Amazon Paid Link

Continuing with the home gym example, rather than plugging each device into an electrical outlet directly, the devices were plugged into a smart power instead. The following steps detail how the smart power bar was setup.

Step 1: Download the smart power bar app

Select Sign up

Step 2: Select the device type you purchased

Amazon Paid Link

Step 3: Plug in the smart power bar

Once the green Status LED begins to flash slowely, click “Next”

Step 4: Select the smart power bar once the app establishes a connection

Step 5: Rename the smart power bar

Give the power bar a simple name that is easy to pronounce and remember. For example, the home gym smart power bar was renamed to Workout Space.

Step 6: Connect the smart power bar to your 2.4GHz Wi-Fi network

Select your homes 2.4GHz Wi-Fi from the drop down list and then enter in the Wi-Fi password.
Click Next

Setup the smart power bar to work with Google Assistant

The following setup will describe how to utilize the smart power bar with Google Assistant. Note: this setup requires either a Google Home, Google Home mini, or Google Pixel.

Following these steps allows you to turn on/off devices connected to the smart power bar using your voice. You will be able to say “OK Google, turn on the Workout Space” and all the devices connected to the smart power bar will then turn on. Or, “OK Google, turn on the stereo” and just the stereo will turn on while the rest of the devices connected to the smart power bar will remain off.–>

Step 1: Go to the "Home" section of your Google Home or Google Assistant app

Open the Google Home or Google Assistant app and then tap the “Add” button.

Step 2: Select "Set up device" from the Add and manage screen

Step 3: Select "Works with Google"

Step 4: Search for the smart power bar manufacturer

Step 5: Select Meross and then sign into your Meross account

Enter your email address and password associated with the Meross app and then tap “Authorize.”

Once Google Assistant and your Meross account have been linked, the power bar devices will be displayed individually as “Linked to you.”

Step 6: Assign the Meross power bar devices to rooms within Google Assistant

Assigning the Meross power bar devices to a specific room generally allows for a better voice command experience.

Tap on a Meross device and then select “Add to a room.”

Tap on the home you would like to place the Meross device in.

Once you select the home click “Next.”

Select “Move device.”

Continue to move the remaining Meross devices on the surge protector power bar to the Workout Space room within Google Assistant.
Note: the device called Workout Space is a master on/off of all devices on the power bar.

Rename each device within Google Assistant

Give each device a name that correlates with what is plugged into it. For example, renaming Switch 1 to Projector, you’ll be able to say “OK Google, turn on the projector” and just the projector will turn on while the rest of the devices connected to the Meross power bar will remain off.

Tap on Switch 1 and then tap on the setting icon.

Tap on Name to change it.

Change the names for the remaining Switches and USB

Note

The four USB slots are controlled together (all on or all off), therefore if you place more than one USB device into it, you may want to consider a more generic name.

Set up electronic devices to auto turn on when power is switched on

This setup will vary depending on what device you have plugged into the smart power bar. To setup this feature, either refer to the device manual or go online and search how to turn on when power is switched on. Continuing with the home gym example, there is an Epson projector, an Onkyo AV receiver, an RCA Blu-ray/DVD player, as well as a Google Chromecast.

The setting to turn on the projector when you plug it in is “Direct Power On” under the operation settings menu. Enabling this setting allows the projector to turn on and start displaying a picture when powered up. Now when you say “OK Google, turn on the projector” the smart power bar will supply power to the projector. This essentially plugs in the projector and then initiates the direct power on.

Extended – Operation – Direct Power On
Change this setting from Off to On.

Enable HDMI-CEC (Consumer Electronic Control) on all devices

HDMI-CEC compliant devices utilize a wire within the HDMI cable to communicate instructions between devices. Enabling HDMI-CEC permits other devices such as the Google Chromecast to power on the projector and switch the input source.

Note

Not all manufacturers refer to this setting as HDMI-CEC, for this example, the Epson projector’s name for this setting is HDMI Link. Refer to your device manual or go online and search the manufactures HDMI-CEC settings equivalent.

By default, HDMI-CEC is enabled on the Google Chromecast.

Note

Not all devices are HDMI-CEC compliant. Most new devices are HDMI-CEC compliant, however, if your device was manufactured before the HDMI-CEC standard, you may not have this functionality.

Enable Chromecast voice control

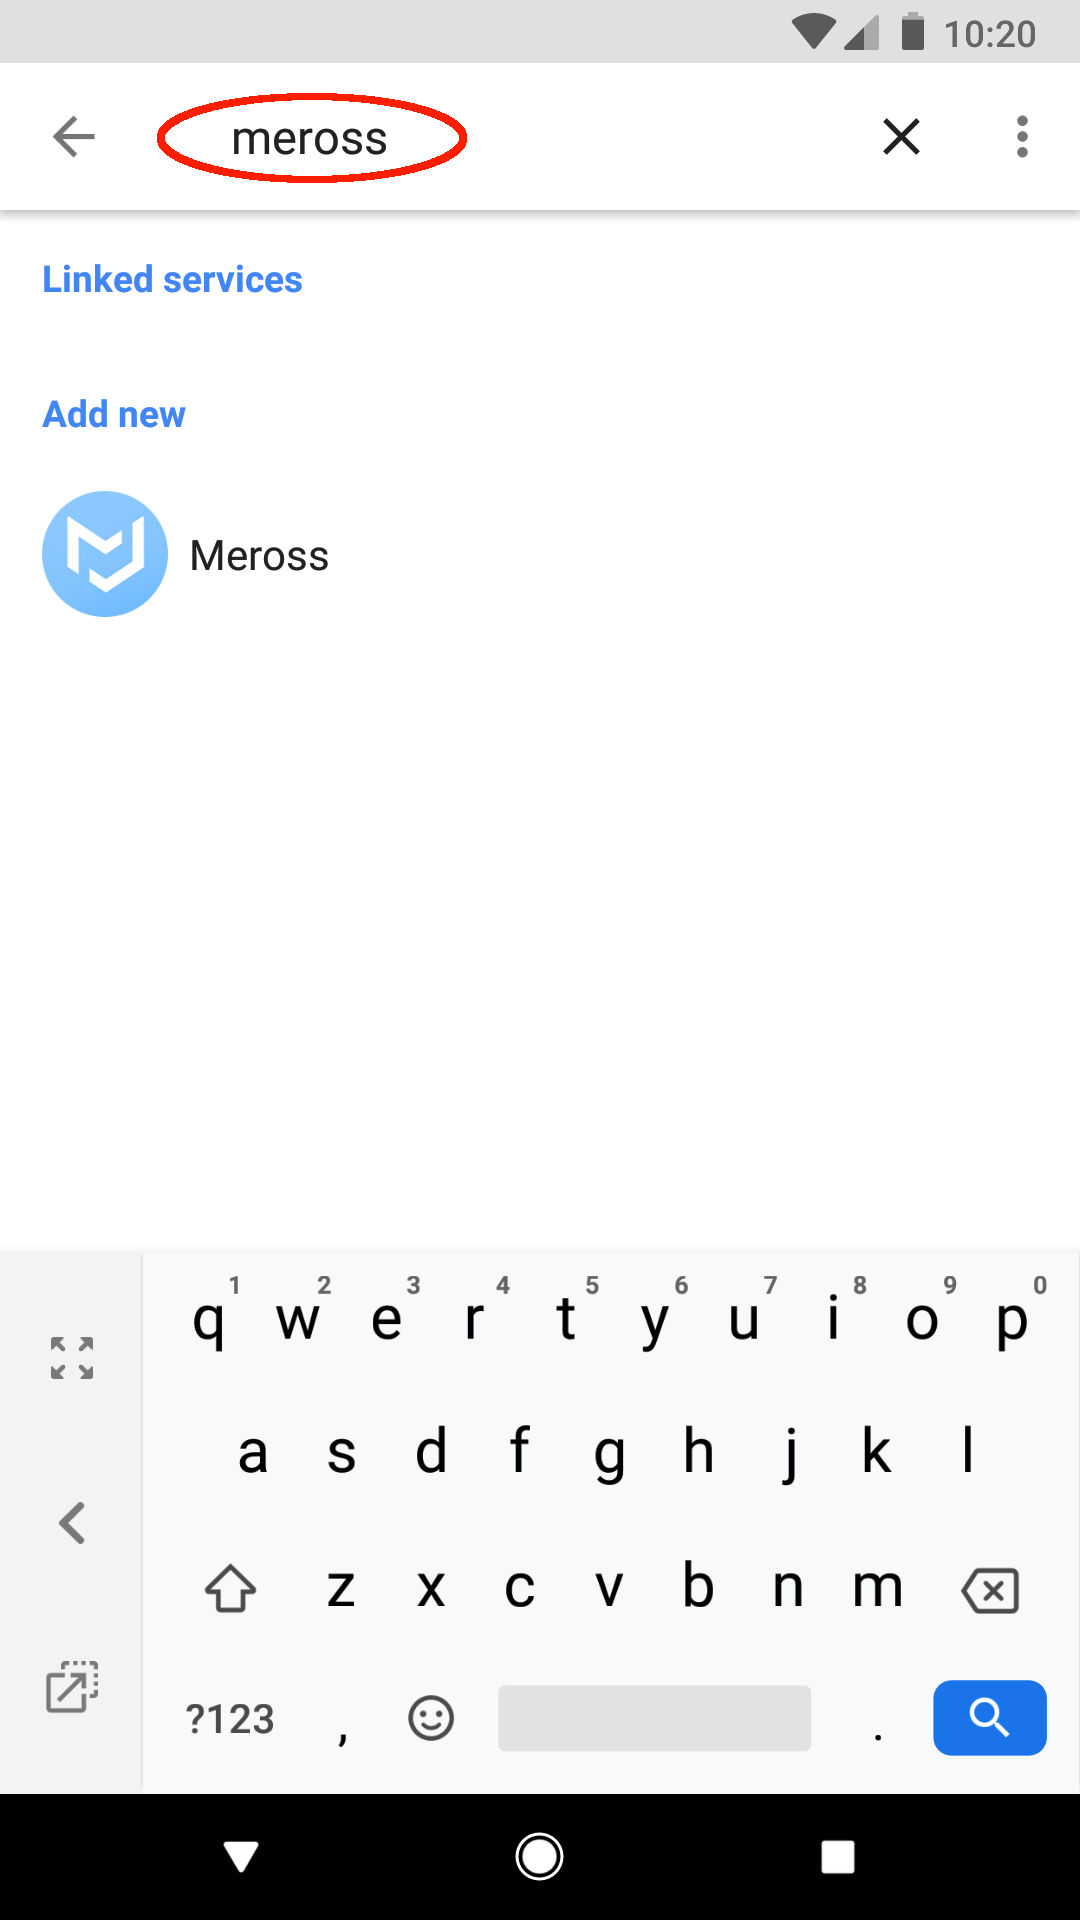
To further enhance the voice command capabilities, enable voice control of your Google Chromecast within Google Home. Enable this by selecting the Chromecast under devices within the Google Home and then select “Enable voice control and more…” Enabling this feature on the Google Chromecast allows you to play, pause, stop as well as control the volume using your voice.

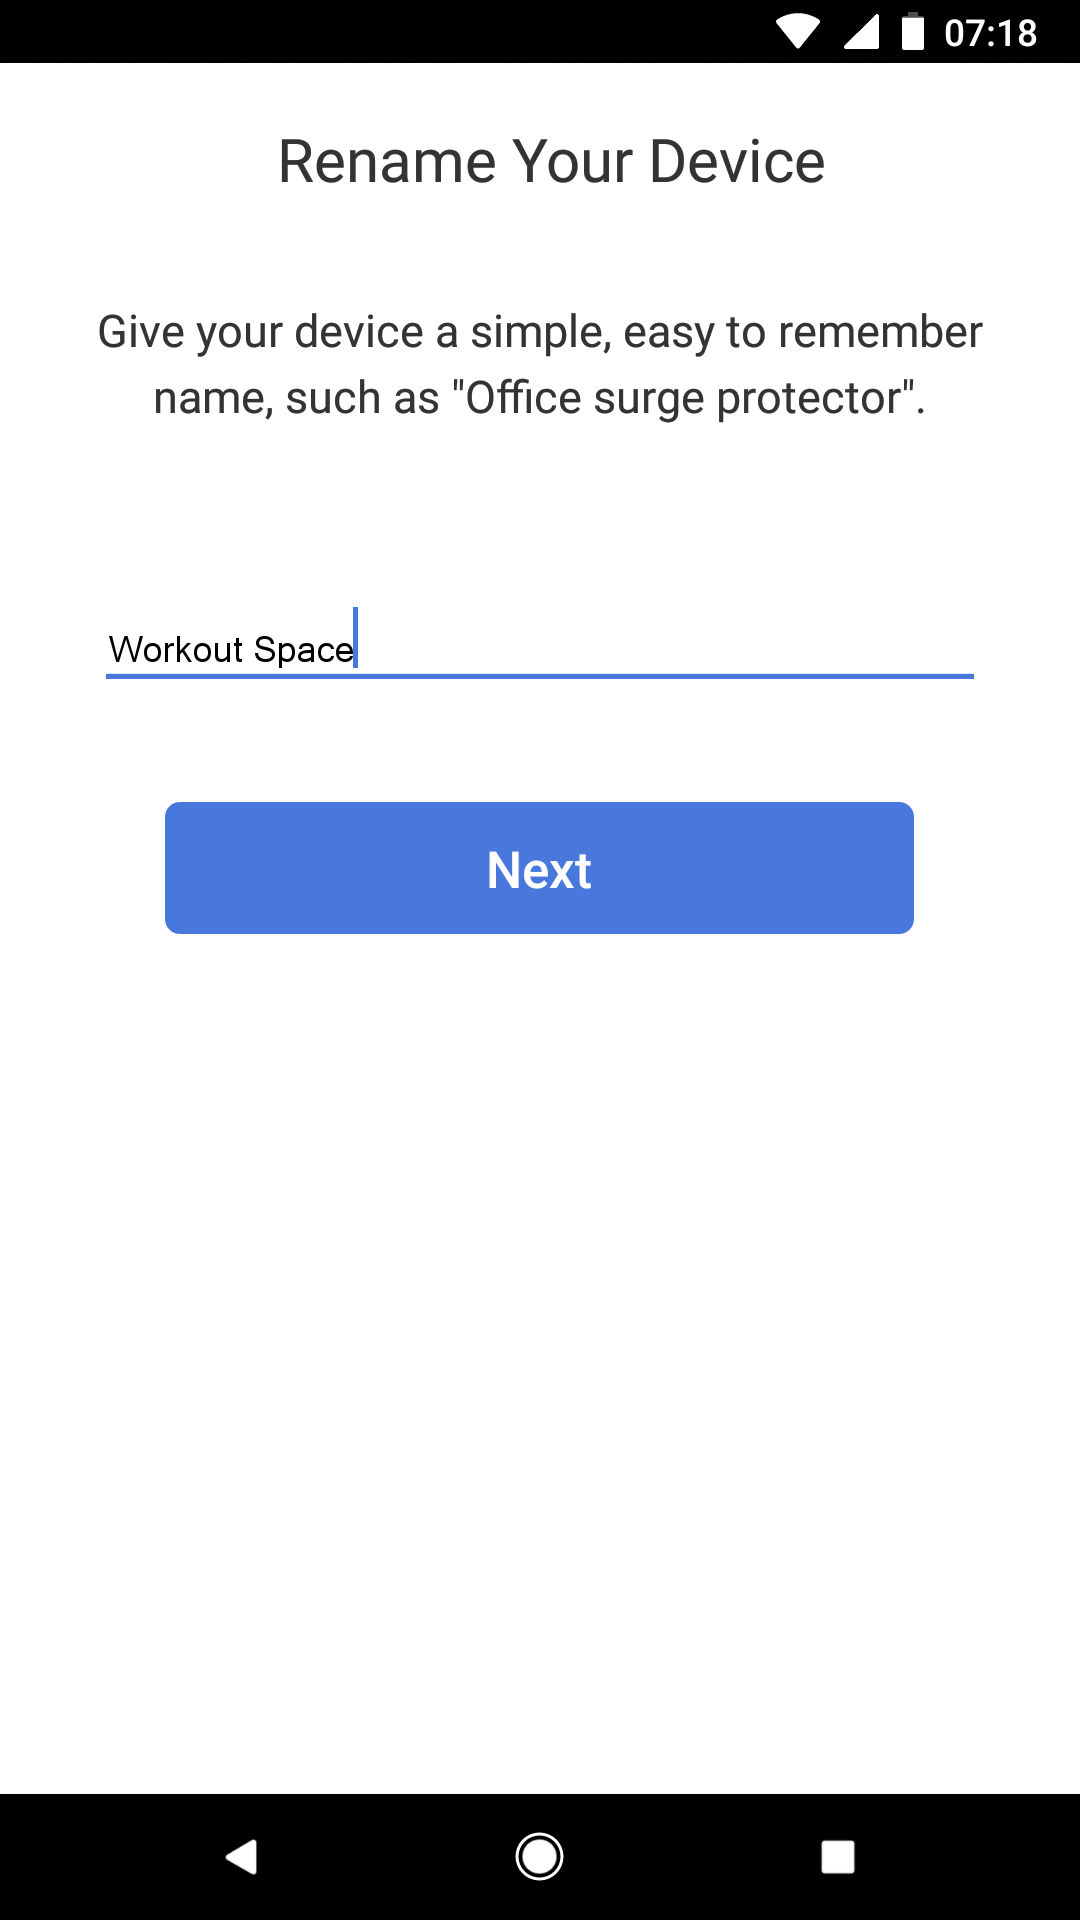
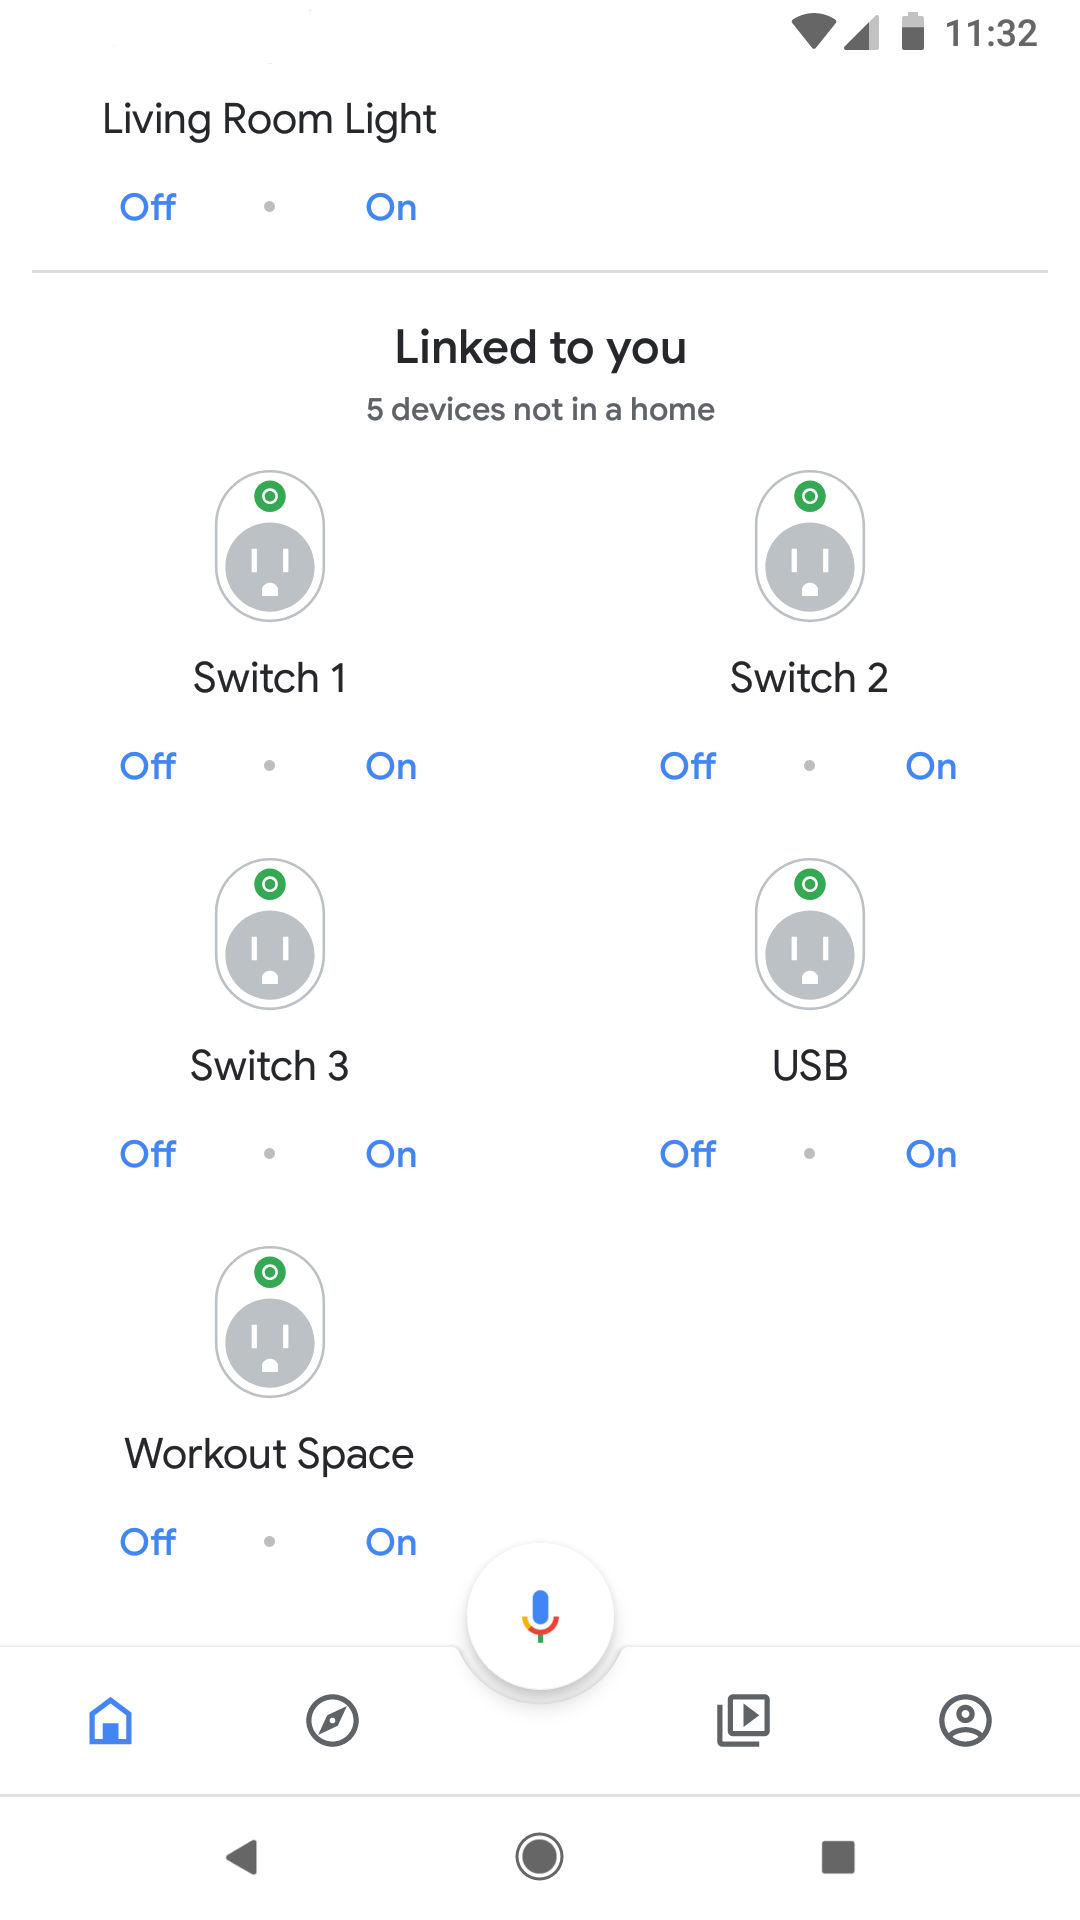
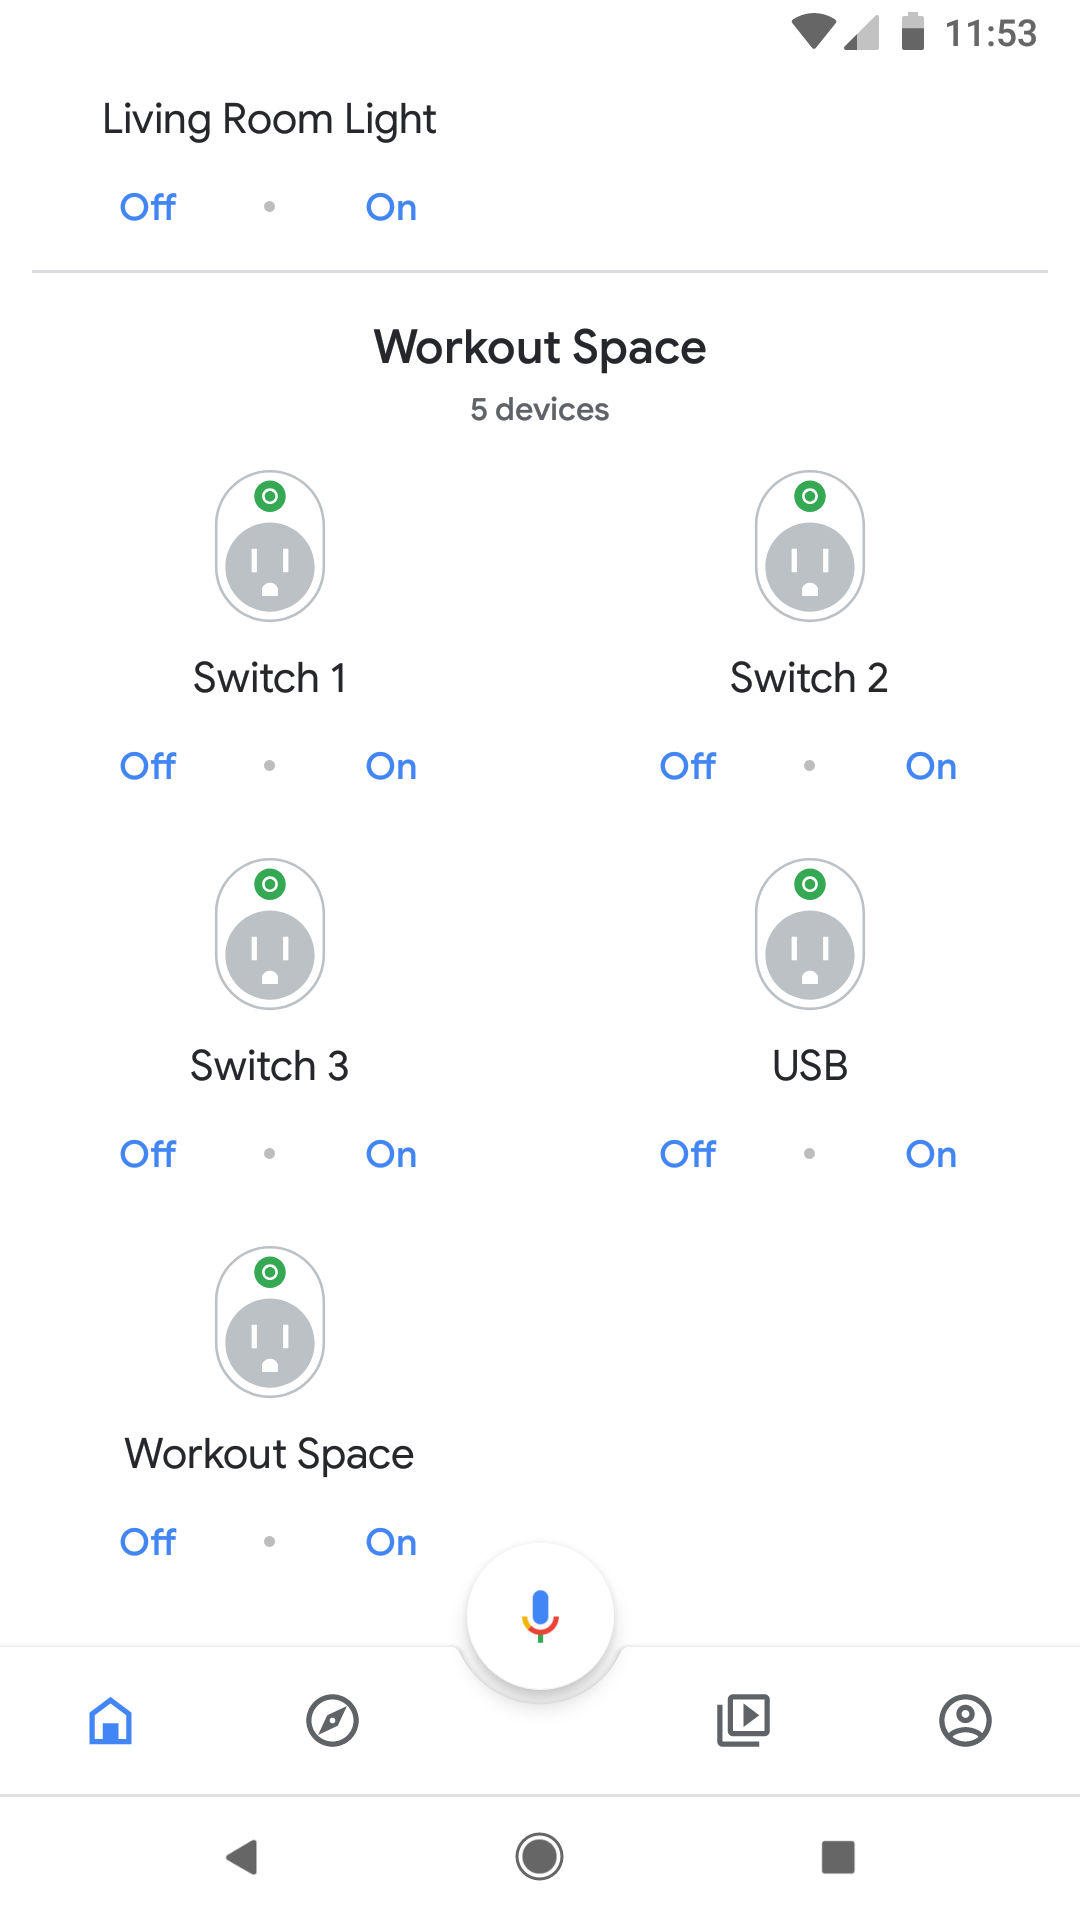
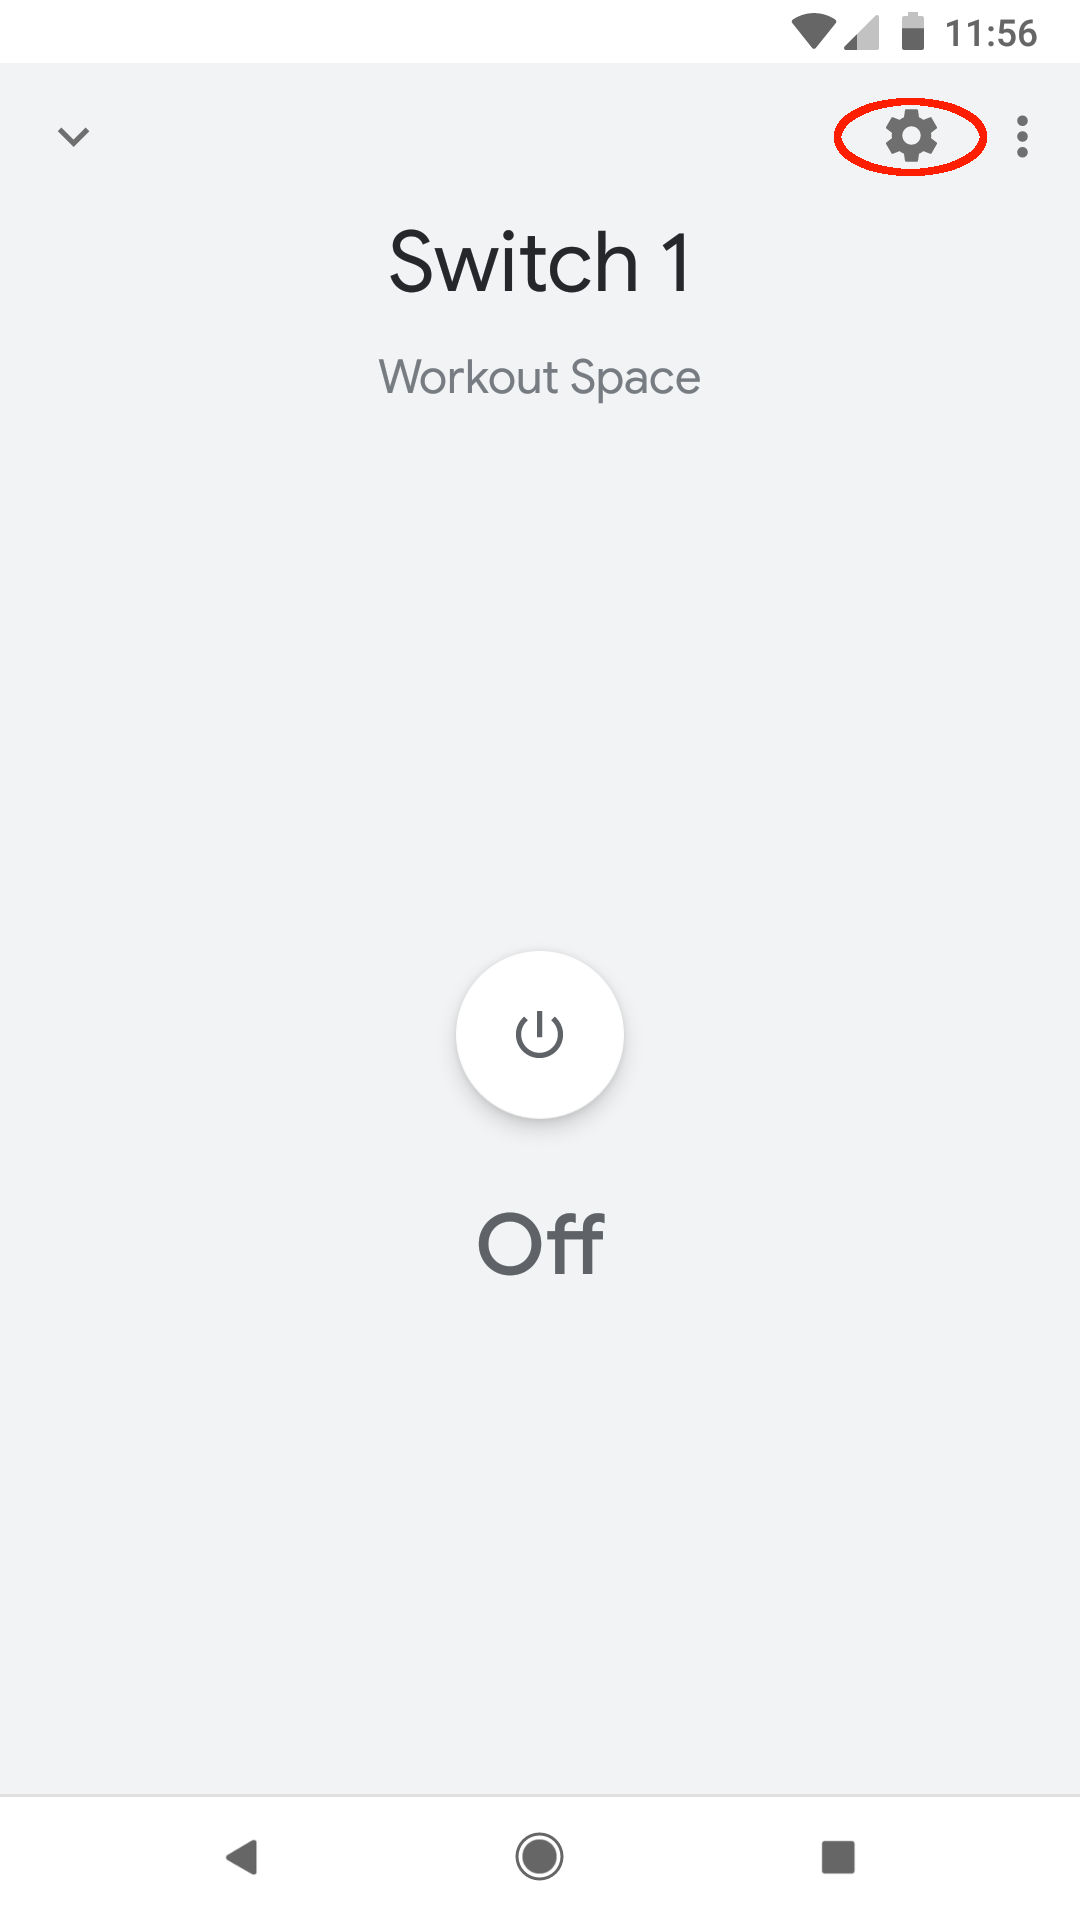
First say, “OK Google, turn on Workout Space” to supply power to all devices from the smart power bar. Then you could say something to the nature of “OK Google, play ‘Yoga with Adriene, Core Strength Ritual’ on Chromecast.” This will automatically switch the projector’s input to the Google Chromecast and start casting a workout video. Note: You can also select a video or music to stream from your phone by simply tapping the cast button.

To control the volume say, “OK Google, set volume to 50%.” This voice command will turn the volume down via the Chromecast which then lowers the volume to the speakers connected to your AV receiver.

Measuring energy consumption of standby and phantom power with smart power bars

As shown above, from the power and energy screen capture and linear watt-hour trend; the devices connected to the smart power bar consumed 30.7 watt-hours of energy over a 24 hour period.

This works out to 11.21 kWh per year and a cost of $1.34.
0.0307 kWh/day x 365 days/year = 11.21 kWh

$0.12/kWh x 11.21 kWh = $1.34

The percentage of standby and phantom energy to total energy reduces to 0.21%. This is an 80.7% reduction in standby and phantom power consumption.
11.21 kWh / (5277 kWh – 57.67 kWh) + 11.21 kWh = 0.21%

Conclusion

We chose to write this article because we understand human nature prevents us from plugging and unplugging devices each time we use them. Additionally, the electrical outlets may be in hard to reach areas like under a desk or behind a large TV. Using voice commands essentially plugs and unplugs these devices for us conveniently and minimizes wasted energy from standby and phantom power.

Note

The smart power bar and google home setup consumes network standby power. However, from the results it can be seen that an 80% reduction in standby and phantom power can be achieved.

Related articles